
To determine which fixture DENTAL MICROSCOPE will suit you in the clinic, you need to consider in detail its types and conditions where you want to work with optics. This article is devoted to a detailed analysis of exactly these points - types and conditions.
DENTAL MICROSCOPE - this is a rather large thing, and since it is placed in rooms of different scales and sizes, it has 3 types of fastenings - floor, wall and ceiling.
It is not possible to say unequivocally which mount will be the best for you. It is necessary to proceed from your own wishes, ease of use and layout of the room. And approach the choice rationally and pragmatically. Sometimes demolishing the partition to house the microscope will be a better solution than choosing another building for the clinic.
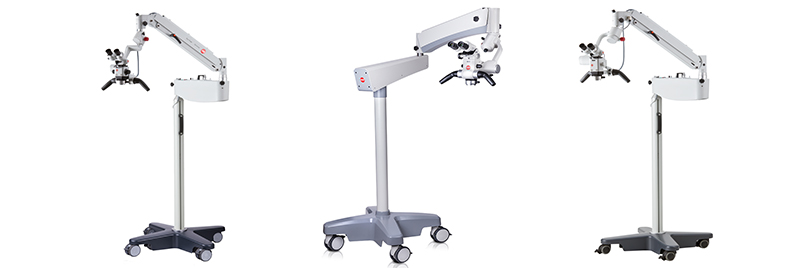
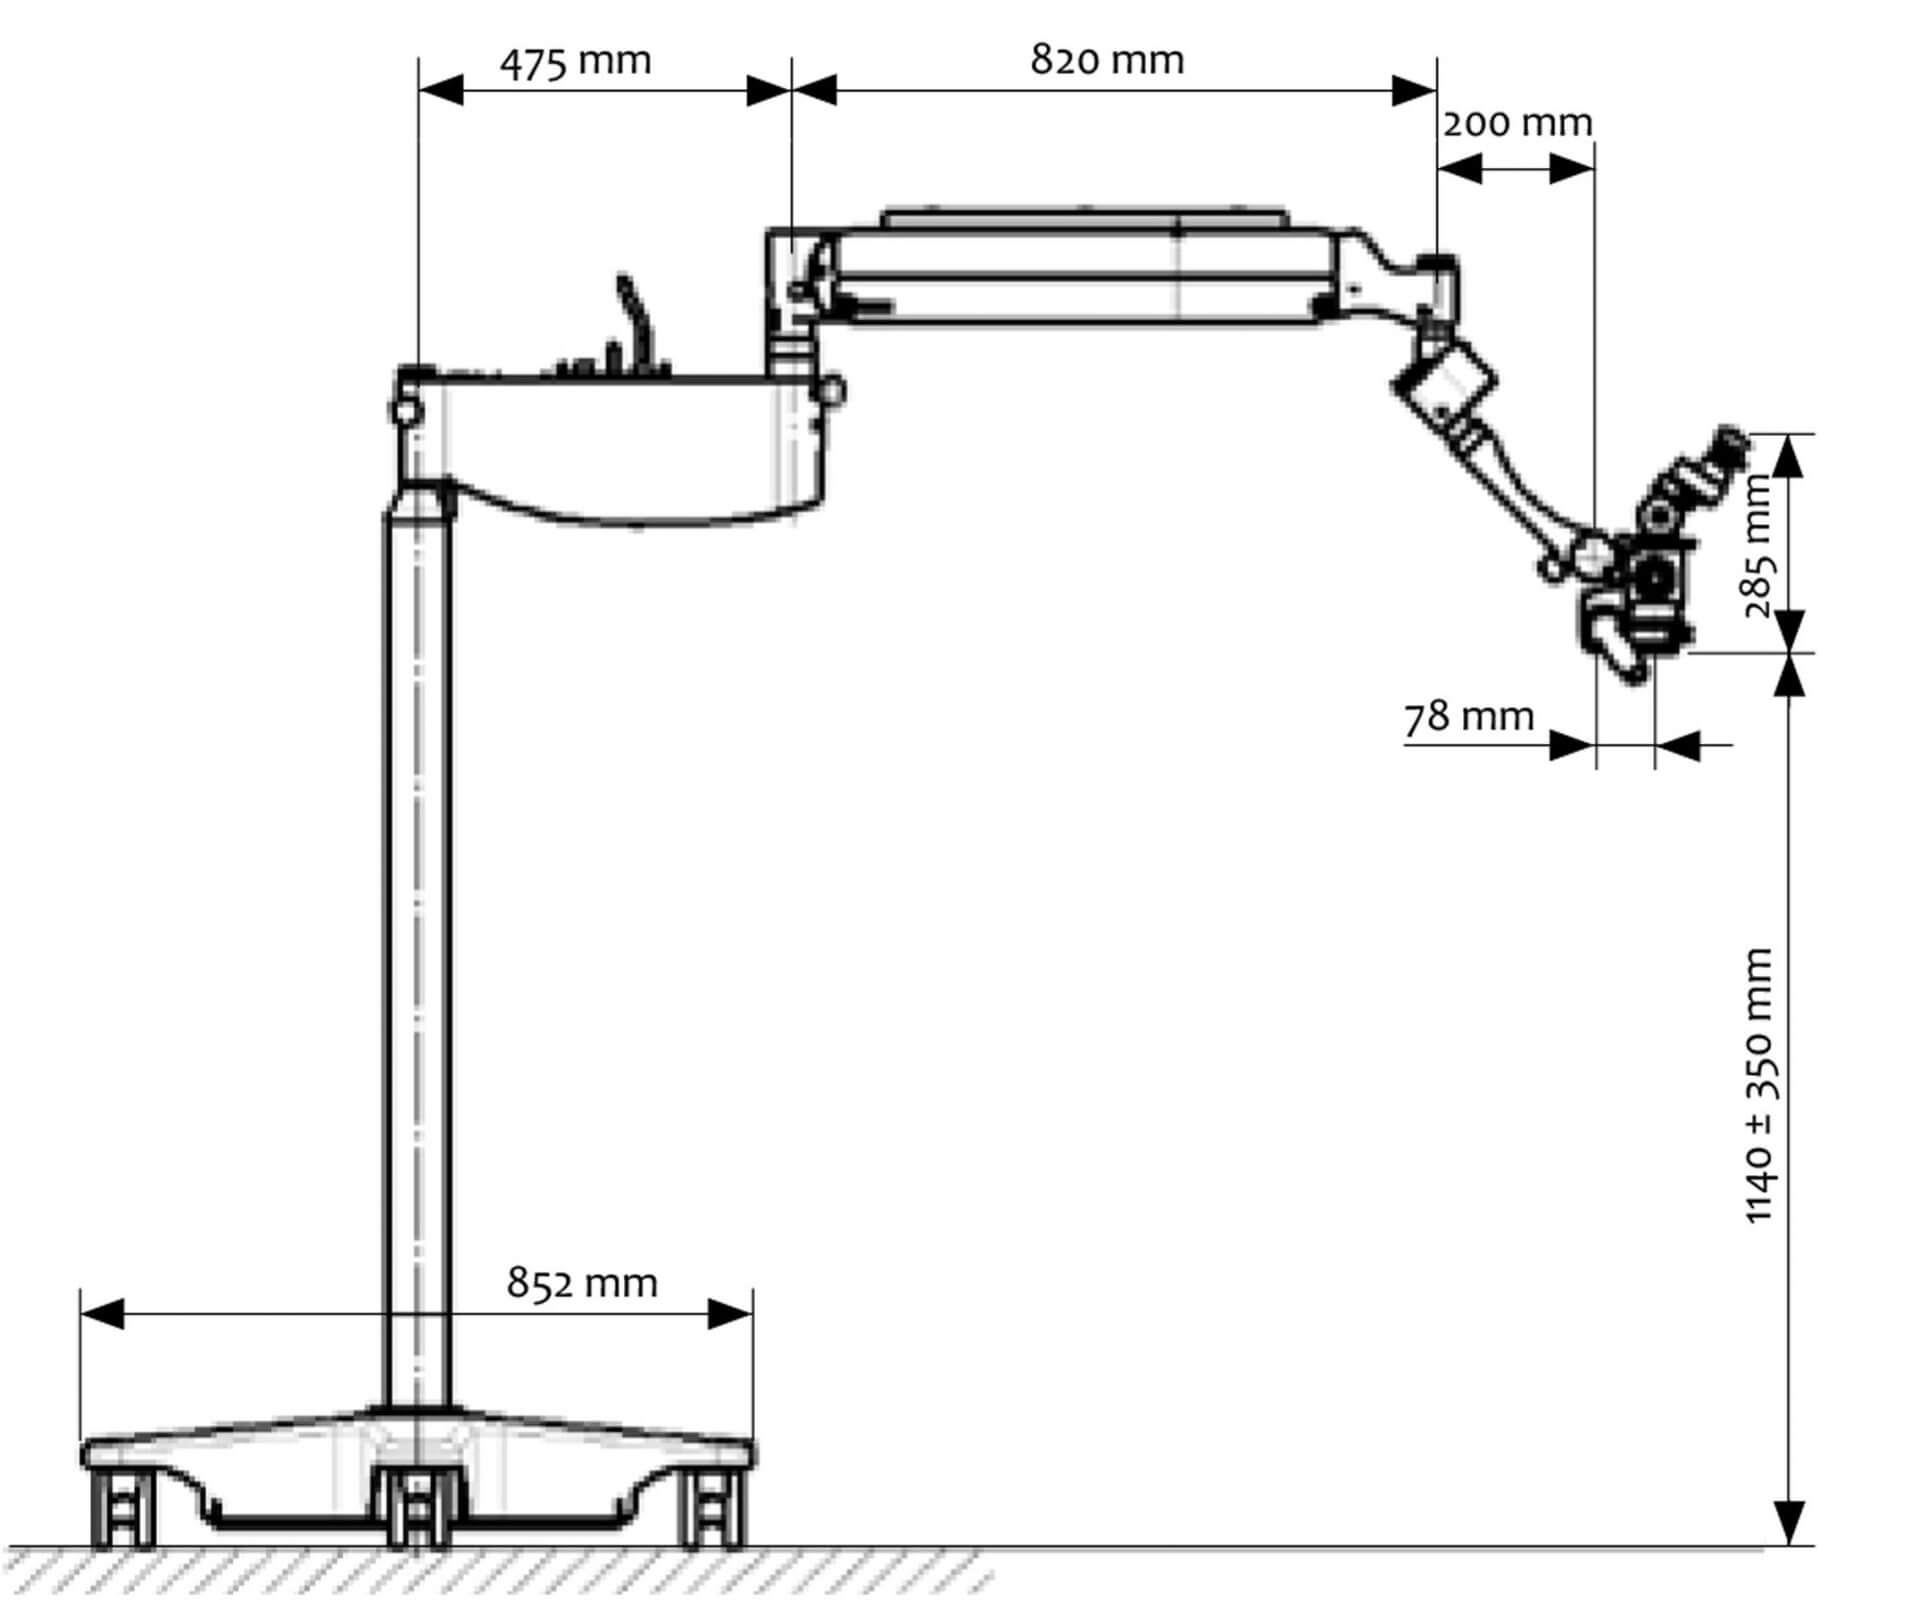
Floor mount for microscopes (stand)
This attachment is universal and quite mobile, it can be moved around the clinic or the room where the patient is received, because it is equipped with small wheels (with brake locks). Floor mounting is often used by beginners due to its simplicity and high practicality.
Why such requirements?
Everything is very simple. The microscope is located on the left hand of the dentist, accordingly, there should be nothing in the room on this side that could interfere with the work - cabinets, cabinets. To be precise, there should be up to 80 cm of free space for the microscope on the floor mount on the left side of the dentist.
If you work with the microscope on the right hand, the patient will be uncomfortable. And the floor must be hard and flat so that when moving the microscope, vibrations are not transmitted, which negatively affect the bracket and other moving parts.
What to do if you need a microscope, but there is no room in the office or there is no way to do without cabinets and cabinets? The advice of our specialists in this case – if you don't have enough space, you need to take a closer look at ceiling or wall mounting. It is a good alternative in this case.
It is important to know
Great care should be taken when moving the microscope on wheels in order to exclude the possibility of contact of the optical head with protruding parts of the dental unit.
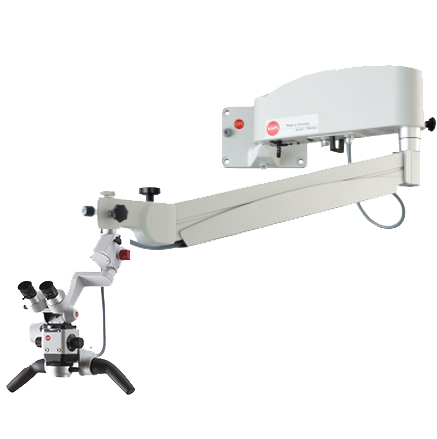
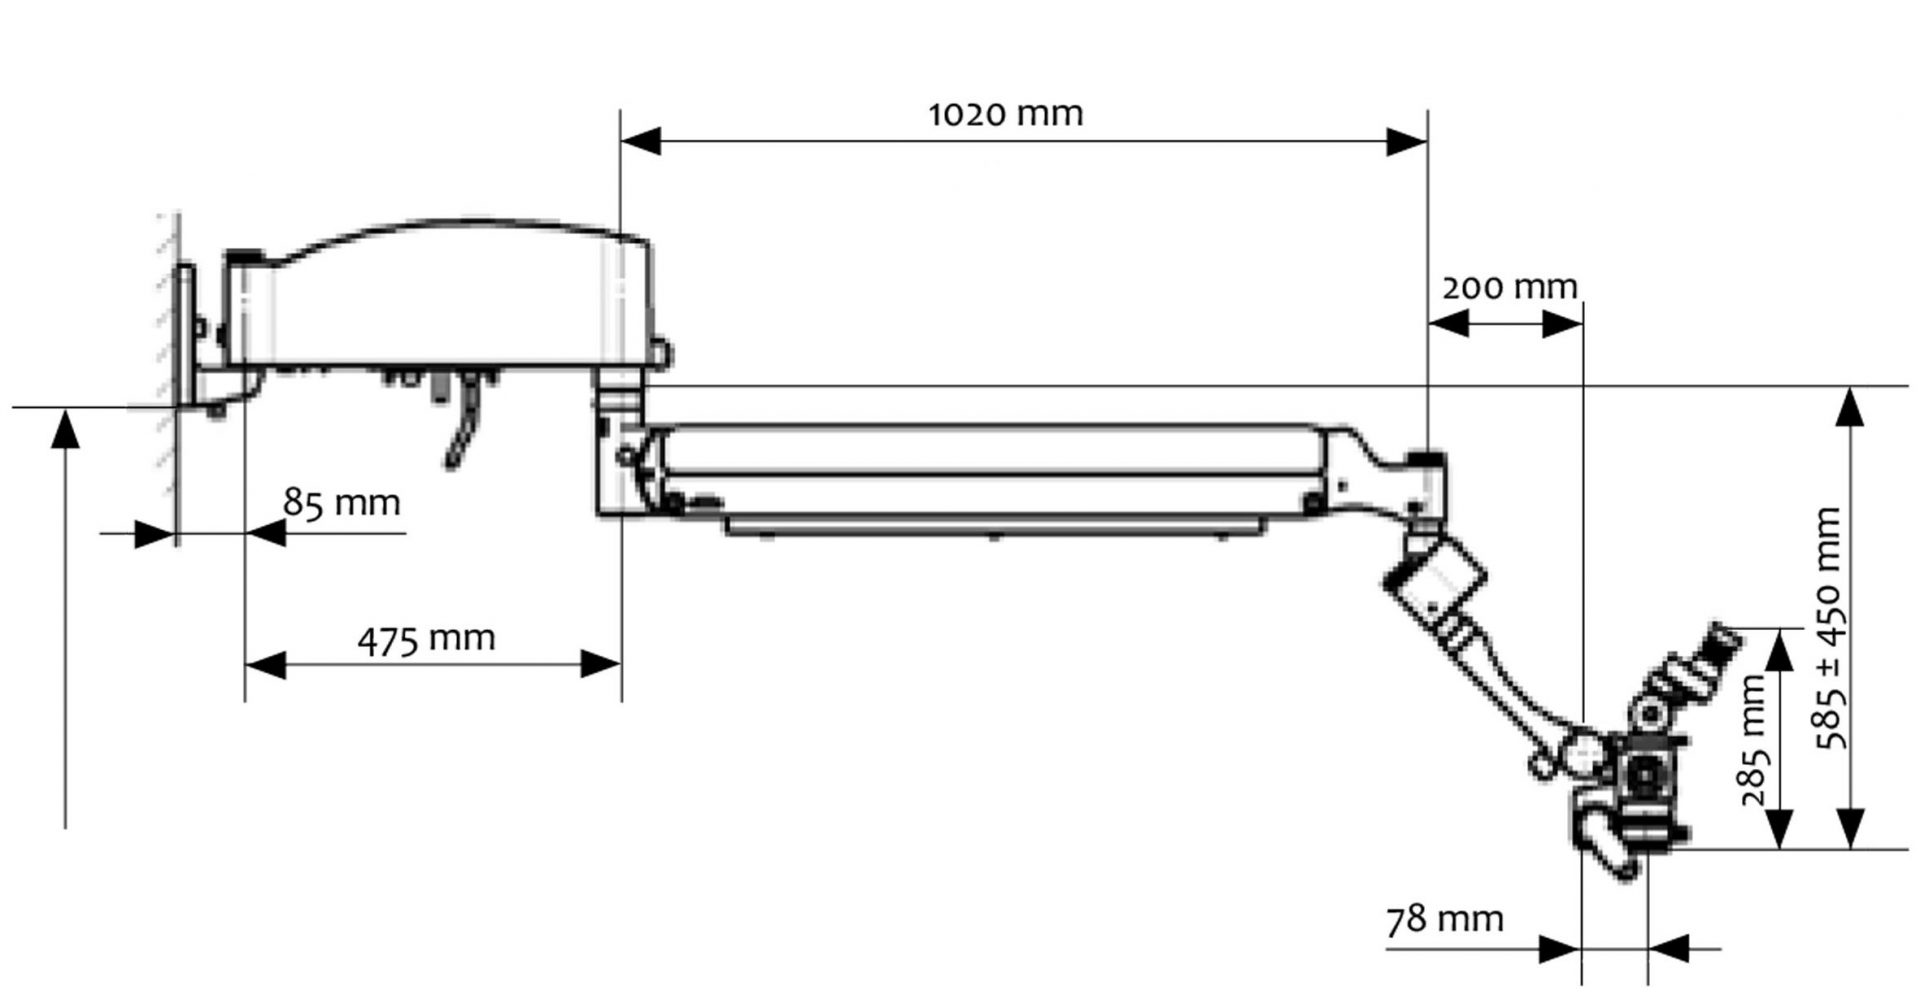
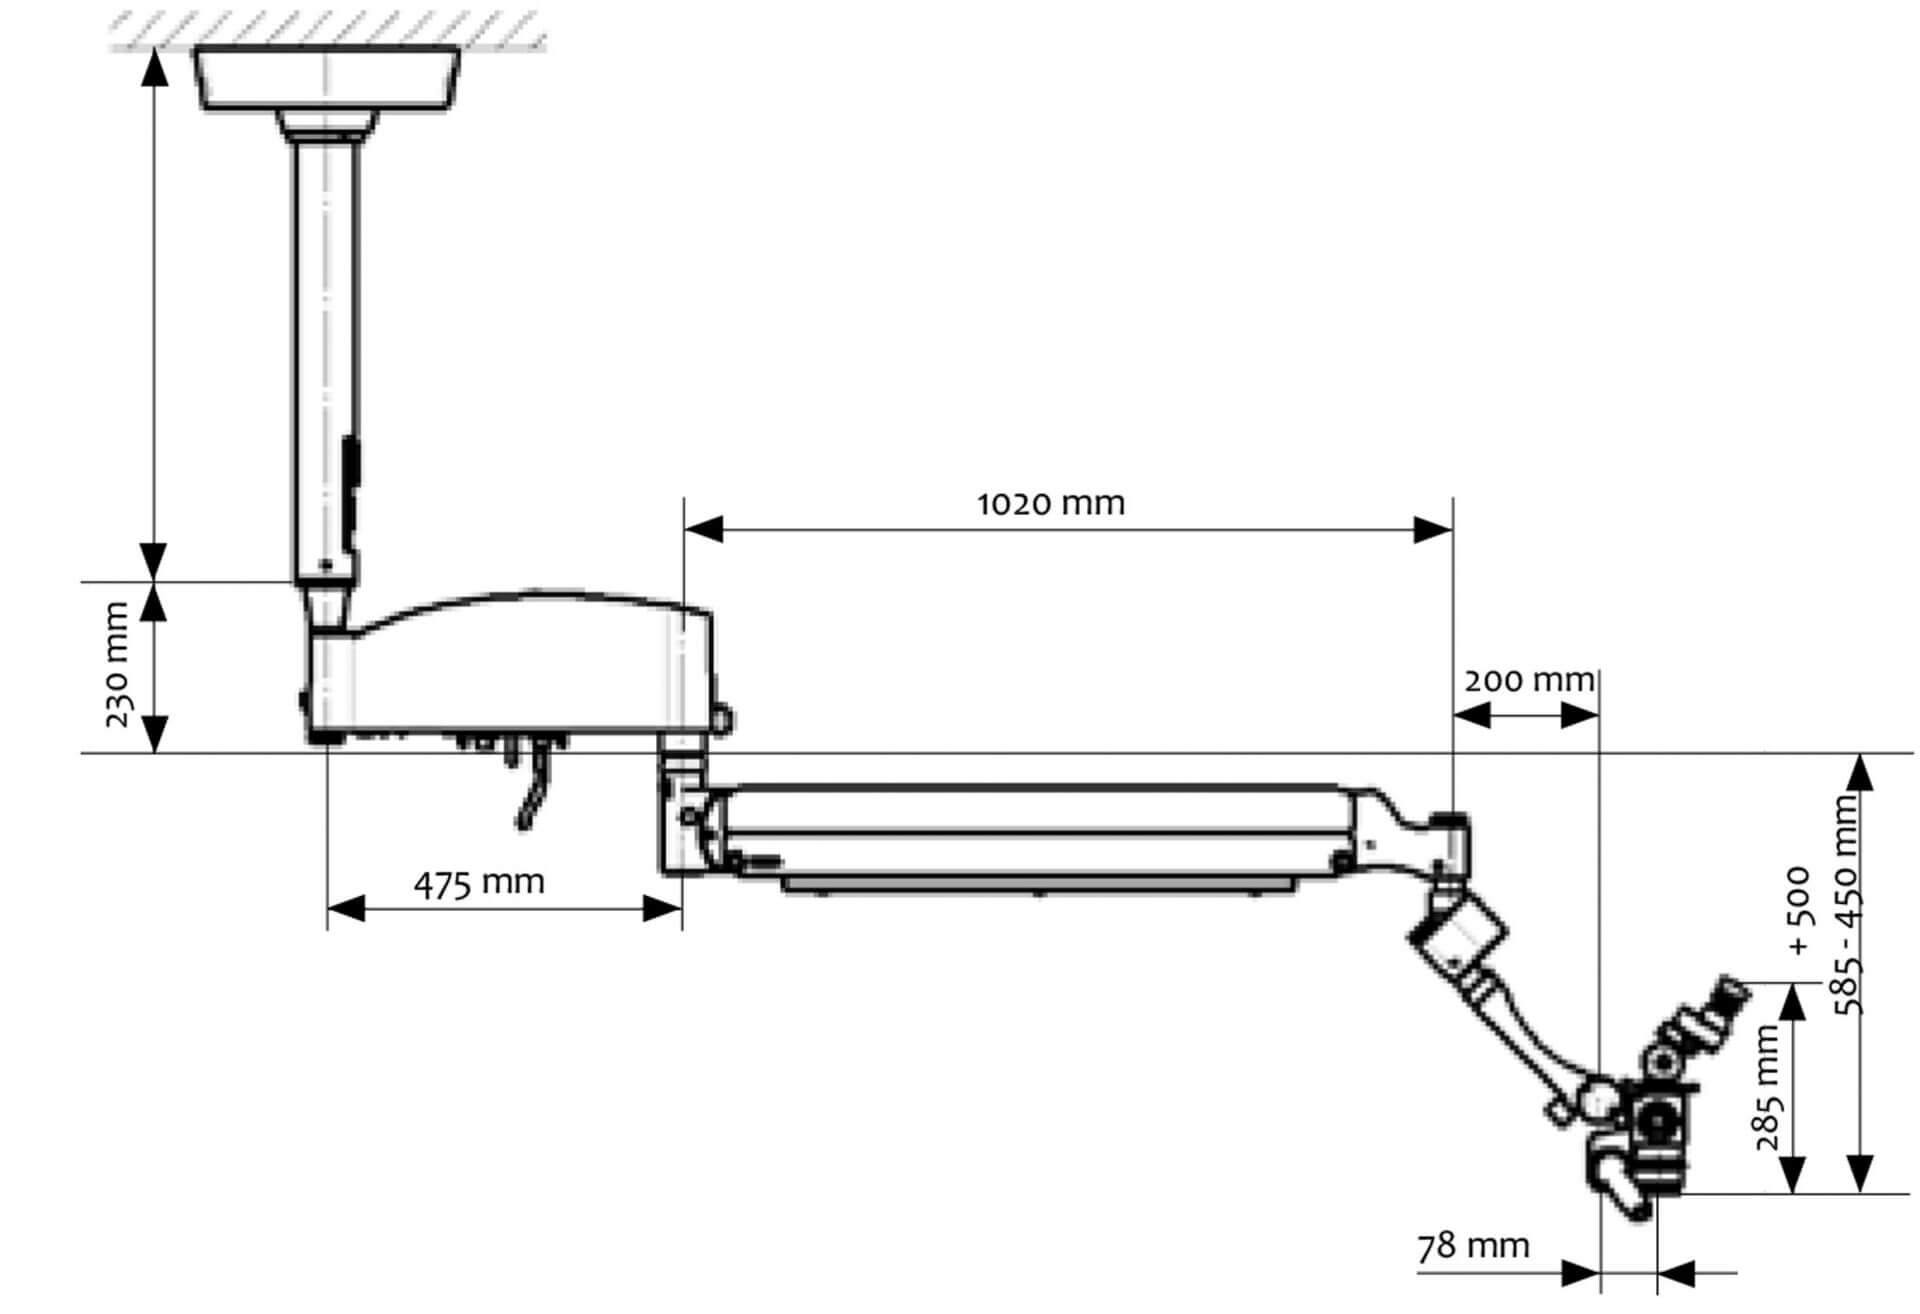
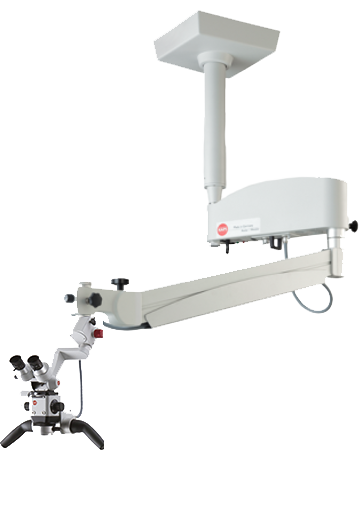
Wall/ceiling mounting
If we talk about the advantages of this mount, it is the most ergonomic. Among the minuses - such a microscope will be fixed in one room, and it will be impossible to move it around the clinic. The main requirement for wall mounting is that the distance from the wall to the installation should be a maximum of 1,10 - 1 meters, and the ceiling height should not exceed 20 meters. The horizontal arm of the ceiling microscope is mounted at a height of at least 1,8 m.
For ceiling or wall mounting, it is desirable that the second shoulder be elongated (950 mm). This allows for great freedom of movement of the optical head in the vertical plane. With this arrangement, it will be possible to easily use all the connections of the optics.
It is important to know
- The same condition applies here as with floor mounting. The wall must be load-bearing, not plasterboard or a partition, because the optical installation will weigh from 40 to 70 kg.
- Some of our clients, during the construction of the clinic, immediately calculate where to mount the microscope on the wall and immediately reinforce that area so that it can withstand the optics.
- If you cannot clearly decide on a plan for the construction of the clinic or you rent premises in the building - we recommend that you contact our specialists, who will help indicate where it is best to place your microscope or where it is best to place such fortifications.
Immediately when equipping the clinic, plan a place for all medical equipment - X-ray, microscope, etc. Think about how best to arrange everything so that working with equipment brings more benefit than inconvenience for you and your customers.